
property-preparation-checklist-for-photos-the-complete-guide-to-staging-and-photography-prep

Great photos help listings sell faster. This guide walks you through everything to make a property camera‑ready: targeted decluttering and deep cleaning, practical lighting choices, furniture placement that reads well on camera, plus how curb appeal and virtual staging shape buyer perception. Follow these steps to make rooms look larger, brighter and more inviting so your listing attracts the right buyers.
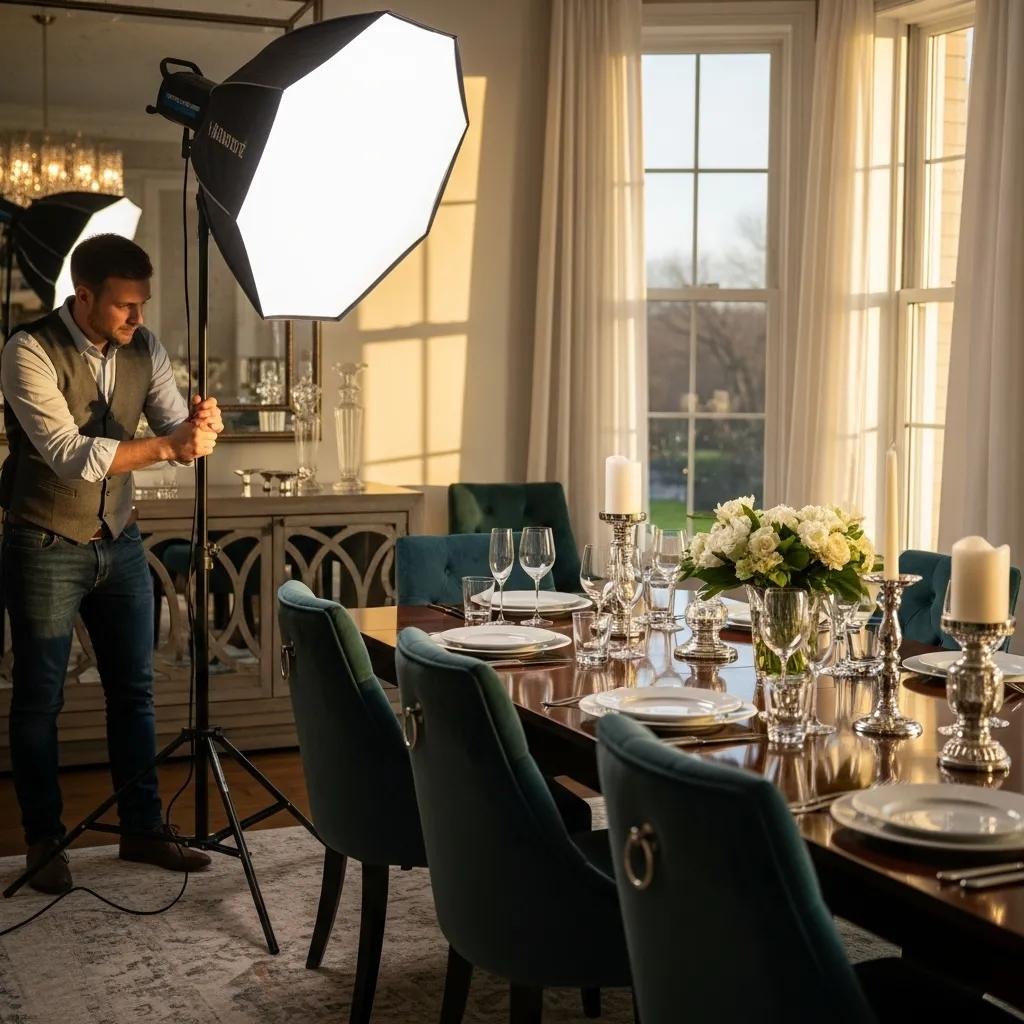
Before the shoot, coordinate the logistics with your photographer: confirm arrival time, which rooms and angles to prioritise, and any external shots that need specific light. A short written shot list (entry, main living area, kitchen, master bedroom, bathrooms, exterior front and back) helps the photographer work efficiently and ensures key features aren’t missed.
Decluttering and cleaning are the foundation of strong listing images. A tidy, neutral space helps buyers picture themselves living there. Start by removing personal items and excess furniture, then deep‑clean surfaces so countertops and floors reflect light and look flawless on camera.
Research shows decluttering influences buyers’ aesthetic choices and how they perceive space.
Decluttering's Impact on Housing Aesthetic Preferences
Desires for Downsizing Dwellings and Decluttering: Impact of Class Differentiation on Housing Aesthetic Preferences — 2022
Before the photographer arrives, focus on high‑impact cleaning that registers well on camera. Prioritise visible surfaces, floors and light sources so rooms appear bright and well maintained.
Completing these tasks results in cleaner, more appealing images that highlight the property’s best features.
Quick storage and staging tips: use matching boxes or bins for visible areas you need to clear, move living‑room clutter into a single closet or garage, and group remaining decor deliberately. If time is tight, prioritise flat surfaces (counters, dressers, tables) and open shelving — the camera notices clutter there first.
Strategic removal and organisation make a room feel larger and more cohesive. Clear distractions and arrange what remains to emphasise flow and function.
These small adjustments help buyers focus on space and features instead of distractions.
Lighting sets mood and clarity. Use natural light when possible and supplement with soft artificial light to balance shadows and bring out colour and detail.
Both natural and artificial light play important roles: natural light brightens and enlarges; controlled artificial light fills shadows and keeps colour accurate. Combine them thoughtfully for consistent results.
Balancing both light sources makes images feel warm, natural and faithful to the space.
Practical lighting advice: set a consistent white balance for all interior shots to avoid mixed colour casts, close blinds that create bright streaks, and use reflectors to bounce fill light into shadowed corners. Even affordable LED panels or daylight‑balanced bulbs can noticeably improve image consistency.
For reliable, professional images use straightforward gear and camera settings that prioritise sharpness and even exposure.
These choices produce clean, professional photos that show rooms accurately.
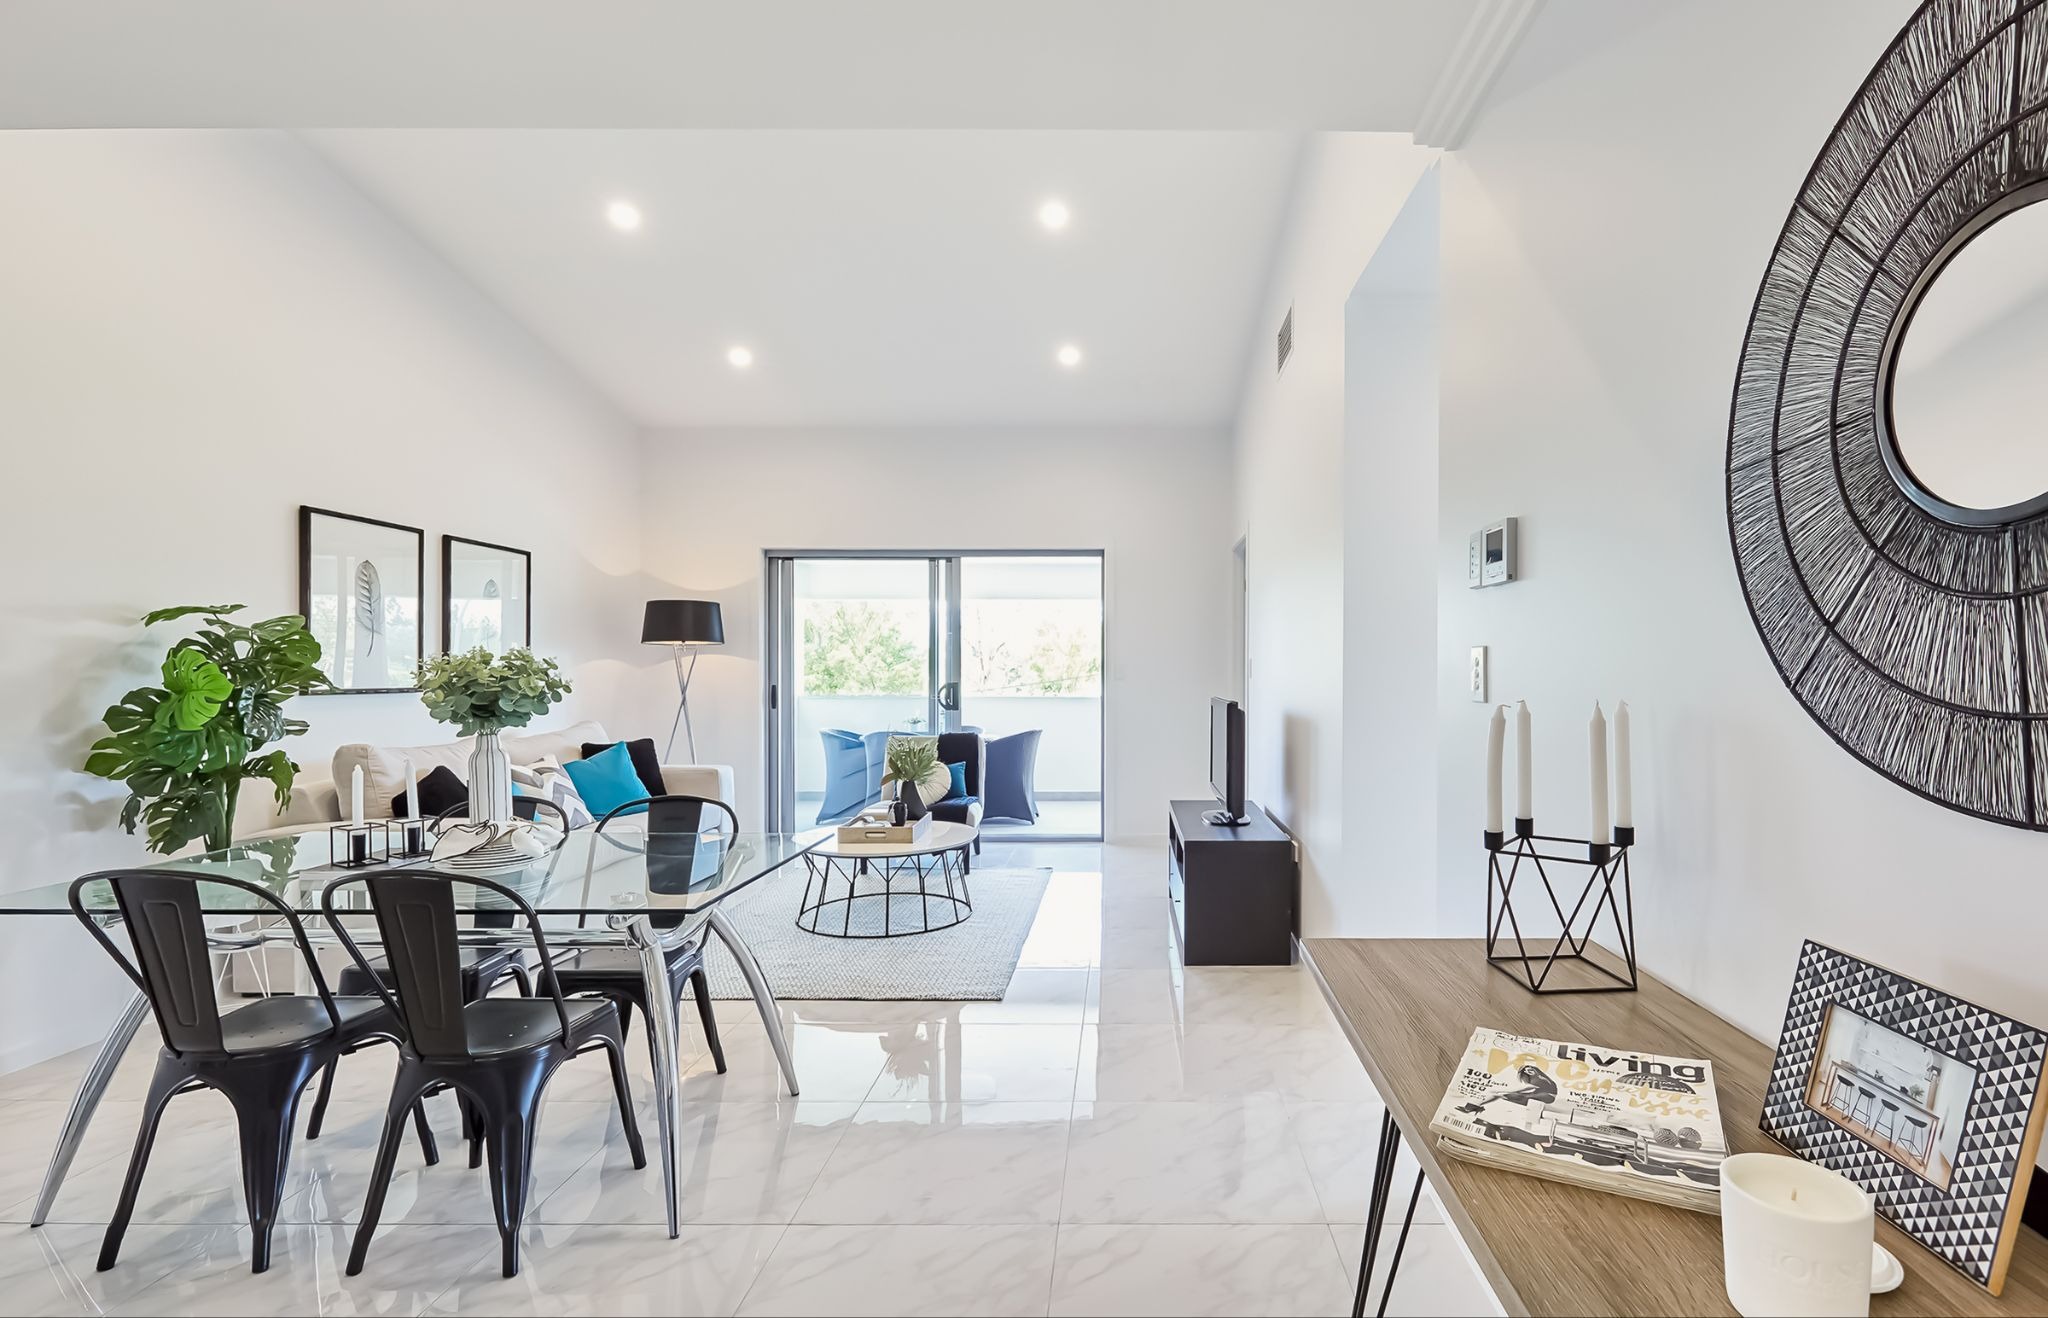
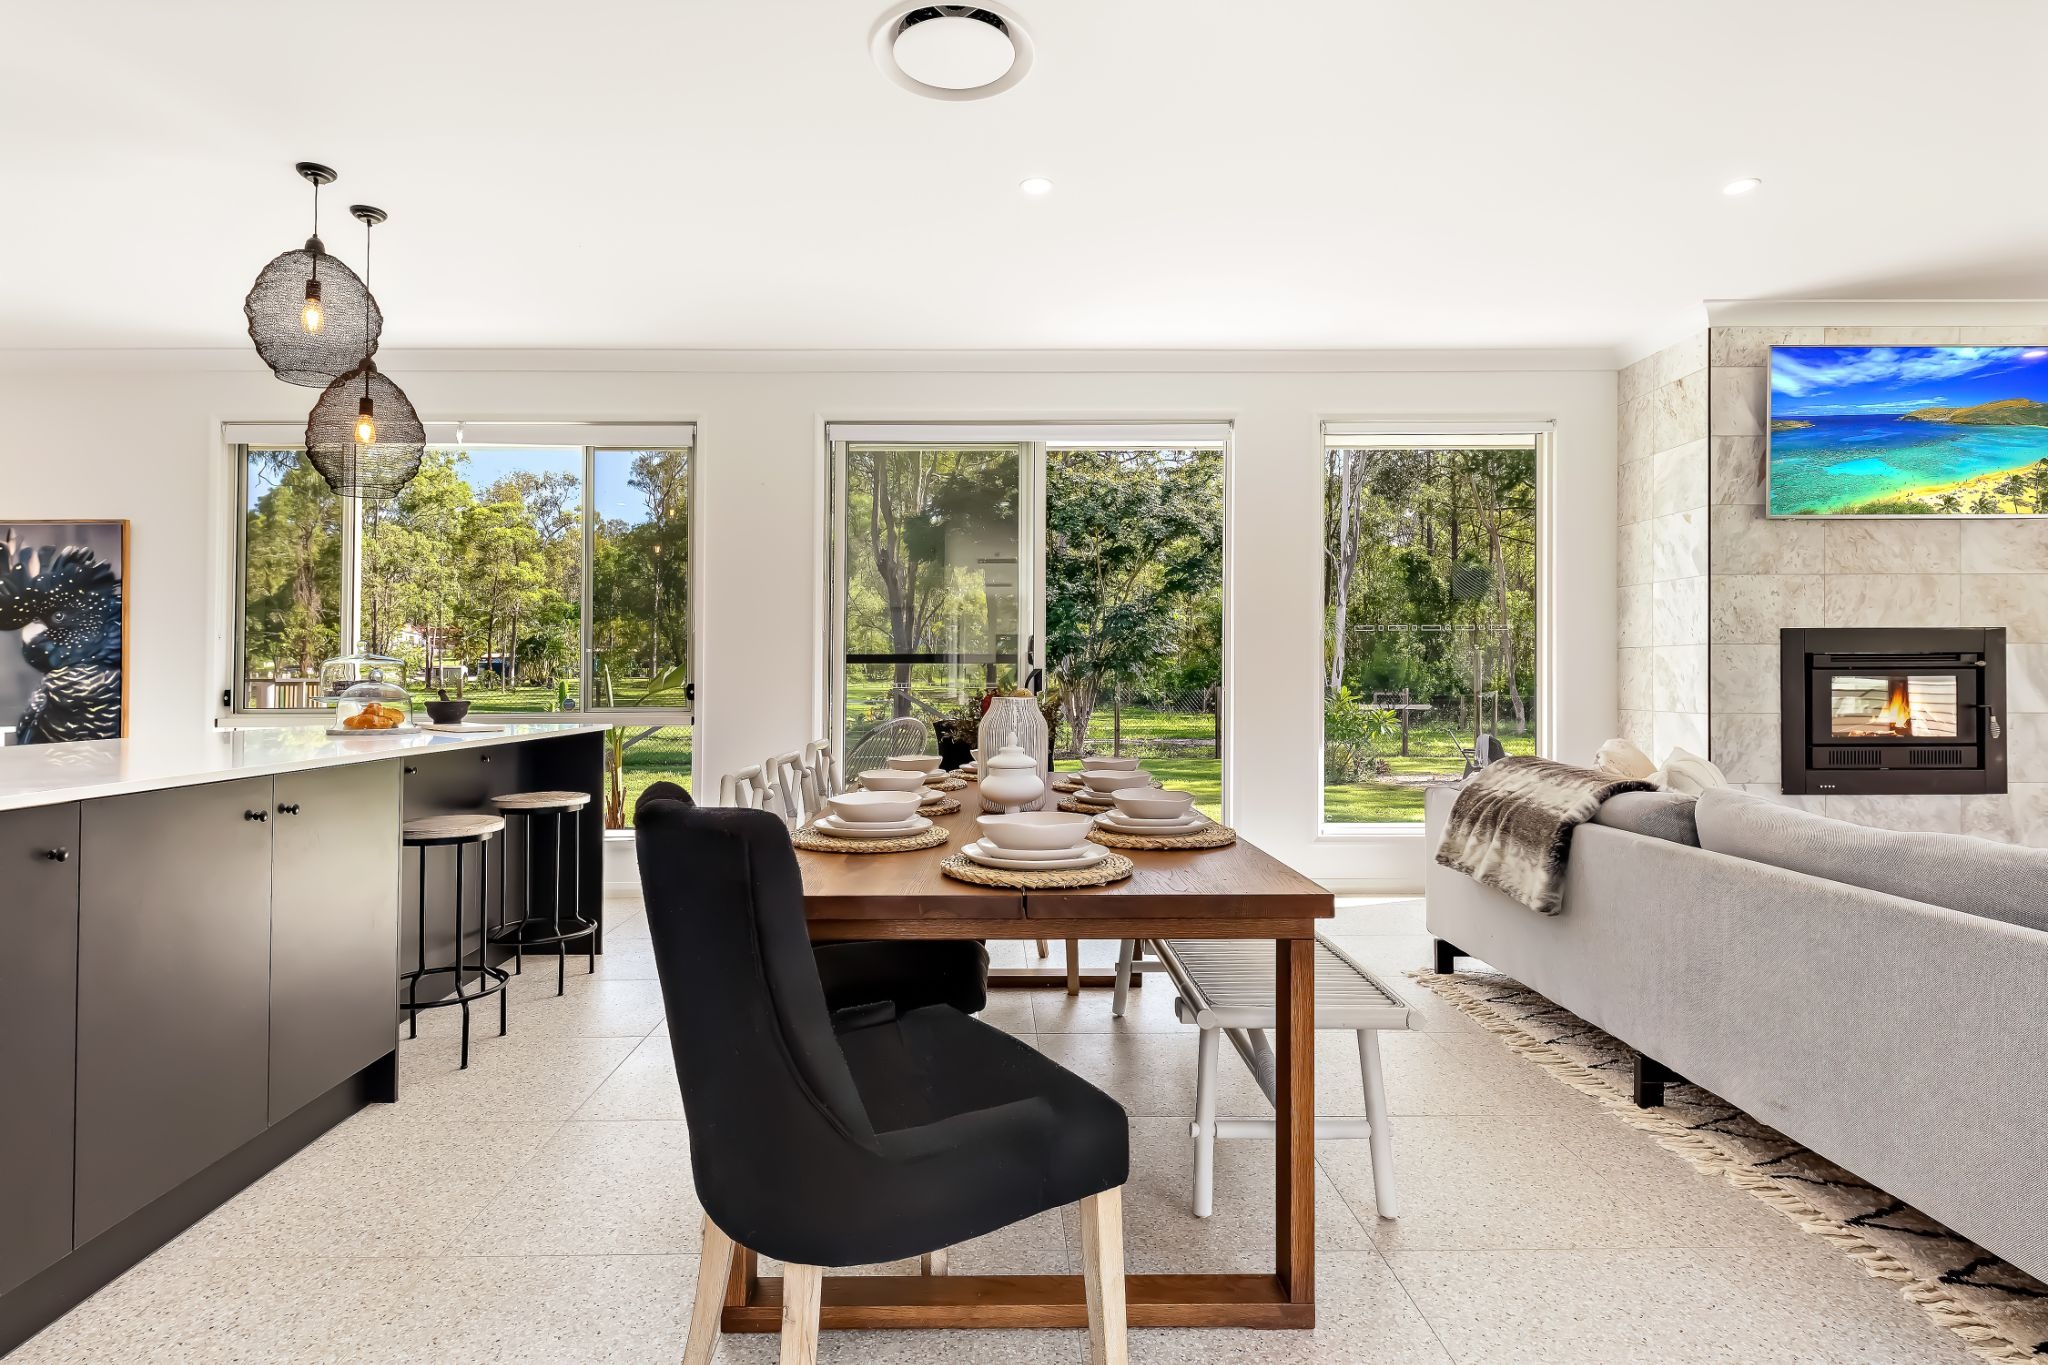
Thoughtful staging guides the eye and demonstrates how spaces function. Arrange pieces to show scale, circulation and architectural details.
Intentional placement makes rooms feel purposeful and open. Think about circulation and focal points when you stage.
Simple, balanced layouts photograph better and help buyers understand how the space works.
Examples by room: in small bedrooms, keep bedside tables minimal and bedding simple to show scale; in open‑plan living areas, define zones with rugs and consistent styling so the camera reads clear purpose for each area. Remove small rugs that add visual clutter and use one focal accessory per vignette.
A concise checklist keeps prep efficient and repeatable. Use it to make sure every room gets consistent attention before the shoot.
Decor should support the home’s character while staying neutral enough to appeal widely. Texture and small accents add depth without cluttering the frame.
These choices help cameras capture a cohesive, inviting look that appeals to buyers.
Day‑of and day‑before checklist (quick, printable):
First impressions count. Exterior prep should be focused, visible and timed so the property looks its best in listing images.
Studies show curb appeal can have a measurable effect on a home’s sale price.
Quantifying Curb Appeal's Value in Residential Real Estate
We recover the value of curb appeal in residential housing using Google Street View photos, a deep‑learning classifier, and hedonic controls. The study finds that a home’s own curb appeal is worth about twice that of an across‑the‑street neighbor, and together they may account for up to 7% of a house’s sale price. — Valuing curb appeal, A. Tidwell, 2020
Focus on tidy, low‑effort improvements that read well on camera and show the property is cared for.
These tasks boost curb appeal with minimal cost and clear visual return.
Weather considerations: schedule exterior shots on days with soft light or light cloud cover to avoid harsh shadows; if it rained, wait until surfaces dry and remove puddles or muddy tracks. Bright sunlight can make landscaping pop, but avoid midday sun that casts strong shadows across façades.
Exterior staging helps buyers imagine outdoor living and the property’s lifestyle potential.
Staged exteriors photograph better and encourage more clicks and viewings.
Virtual staging shows a room’s potential without moving furniture. Used transparently, it’s a cost‑effective way to improve listing visuals.
Virtual staging is powerful but not a complete substitute for accuracy. Use it strategically and disclose when images are digitally altered.
When executed well, virtual staging boosts appeal while keeping expectations realistic.
Virtual staging follows a clear workflow that starts with clean, accurate photos.
Clear, well‑lit source photos are the foundation of believable virtual staging.
Good technique lifts a listing. Focus on composition, timing and the right gear to capture accurate, attractive photos.
Thoughtful framing tells a room’s story and highlights its strengths.
These habits produce cleaner, more compelling images that attract buyer attention.
Suggested shot list for most properties: front façade, entryway, main living space, kitchen (wide and detail), dining area, primary bedroom, each bathroom, laundry/utility, backyard and any decks, plus a few neighbourhood or view shots where relevant. Include close‑ups of high‑end finishes (countertops, fixtures) to highlight upgrades.
Right timing and dependable equipment reduce retakes and deliver consistent quality.
Investing in the right tools and scheduling pays off in presentation and engagement.
Use a structured checklist to avoid last‑minute rushes and ensure consistency across listings. Below are the key areas to cover before the shoot.
Break prep into clear phases and leave time for a final walkthrough so nothing is overlooked on shoot day.
This systematic approach reduces stress and improves the final images.
Avoid shortcuts that show up on camera. A few details make a big difference.
Addressing these pitfalls helps photos look professional and trustworthy.
Quick fixes for common problems: hide loose cords with simple clips, temporarily remove patterned bedding that competes with a room’s lines, use a cordless lamp to brighten dark corners and place a mirror to bounce light. Small changes made in minutes often yield the biggest photographic improvements.
Virtual staging enhances empty or sparsely furnished rooms by digitally adding furniture and decor. It’s cost‑effective and flexible, letting you tailor visuals to different buyer profiles. Use it responsibly: disclose digitally staged images and ensure scale and layout remain accurate to avoid misleading buyers.
Standout listings pair sharp, well‑lit photos with concise, benefit‑focused descriptions. Hire a photographer experienced in real estate, prepare the space thoroughly and highlight unique selling points like recent upgrades or local amenities. Strong visuals and clear copy draw more clicks and viewings.
Common errors include inadequate cleaning, too much decor and poor lighting. Ensure every room is tidy, remove excess accessories and test lighting to avoid dark, uninviting images. A short final walkthrough will catch issues before the camera starts rolling.
Curb appeal is crucial — it’s the buyer’s first impression and can change perceived value. Simple actions like cleaning windows, maintaining the lawn and adding a few plants or a welcome mat make the property feel cared for and more attractive online.
Look at a photographer’s portfolio for real estate work, focusing on lighting, composition and consistency. Check reviews, agree turnaround times and clarify what’s included (editing, virtual staging, number of shots). A good fit understands how to showcase a property’s strengths.
Prepare rooms by clearing personal items and excess furniture, cleaning surfaces and ensuring even lighting in photos. Provide clear images of empty rooms and share style preferences with the staging provider so the final images reflect realistic, correctly scaled decor.
This list outlines key services related to real estate photography in Brisbane, including aerial photography options and pricing considerations. Understanding these services can help you choose the right photography solutions for your property listings.